

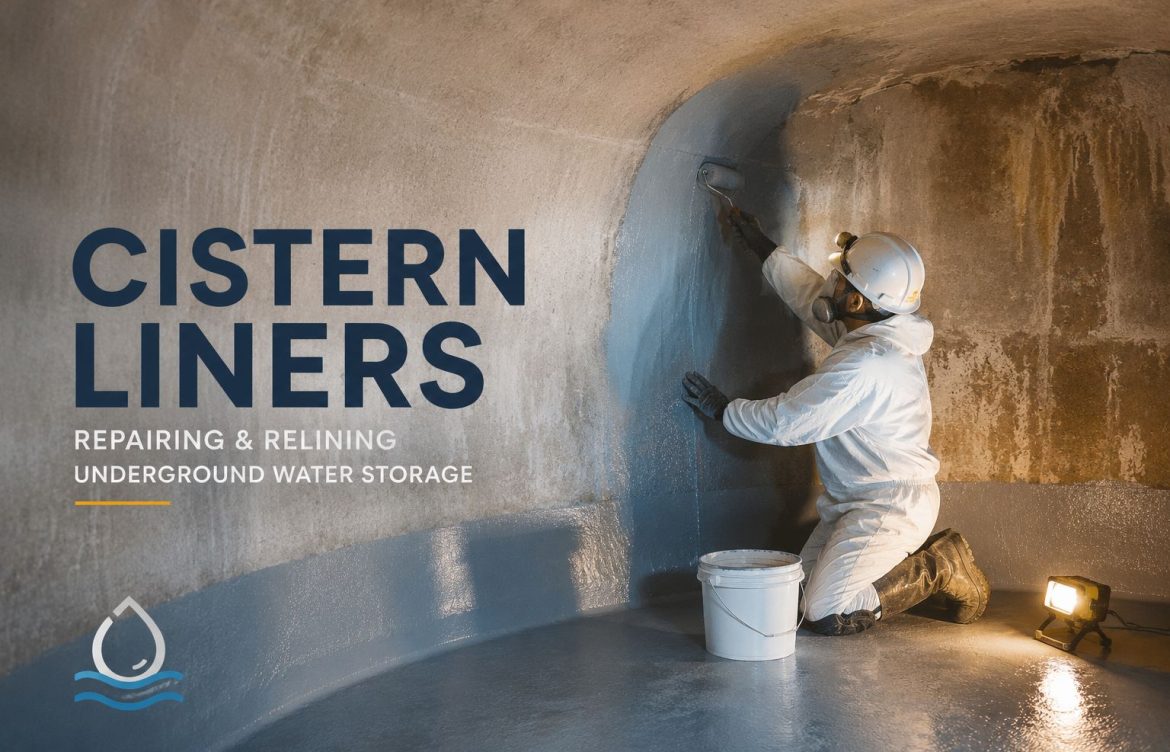
Cistern Liners: Repairing and Relining Underground Water Storage
An underground cistern doesn’t announce that it’s failing. There’s no leak spreading across a garage floor, no obvious stain on a ceiling. Most of the time, the first sign is something quieter: the water tastes a little off, the level drops faster than it should, or a routine inspection turns up a hairline crack that’s been letting groundwater in for who knows how long. By the time any of that becomes visible, the cistern has usually been struggling for a while.
This guide walks through what actually causes underground cisterns to fail, how a repair decision gets made once a problem is found, and what the relining process itself looks like from inspection to a finished, sealed tank.
Why Underground Cisterns Fail
Concrete and steel are the two most common cistern materials, and they fail for different reasons, though the end result, water compromised by cracks or corrosion, looks similar either way.
Concrete cisterns are porous by nature, and buried concrete spends decades absorbing groundwater from the outside and treated or untreated water from the inside. Over time, that constant moisture exposure, combined with soil movement, freeze-thaw cycling in colder regions, and simple age, leads to hairline cracks. A crack that starts as a cosmetic issue becomes a real problem once it opens a path for groundwater intrusion or lets stored water escape into the surrounding soil.
Steel cisterns face a more straightforward enemy: corrosion. Once a protective coating or lining wears through, exposed steel starts rusting from the inside, and because the tank is buried, that corrosion can progress for years before anyone notices, since there’s no easy way to visually inspect the exterior of a buried tank.
Both materials also deal with a less obvious problem: microbial growth. Algae and bacteria can establish themselves on rough or porous interior surfaces, particularly in cisterns that see inconsistent water turnover, and a compromised liner or coating gives them more surface area to take hold.
Signs It’s Time for an Inspection
A handful of warning signs are worth taking seriously rather than writing off as normal wear:
- A noticeable change in water taste, smell, or clarity
- Water level dropping faster than usage would explain, suggesting a leak
- Visible cracking or spalling on any accessible interior surface
- Sediment or discoloration that wasn’t there before
- A cistern that’s simply reaching the age where its original coating or liner is due for evaluation, even without an obvious symptom yet
Catching a problem at the inspection stage, before it’s forced by a visible failure, is almost always the cheaper and less disruptive path.
Repair vs. Full Relining
Not every cistern problem calls for a complete reline. The right call depends on what an inspection actually finds.
Spot repair makes sense when damage is isolated: a single crack, a small area of coating failure, or minor surface deterioration in an otherwise sound tank. This is a faster, less invasive fix aimed at addressing the specific problem without disturbing the rest of the interior.
Full relining becomes the better option when damage is widespread, when there’s evidence of ongoing water loss or intrusion across multiple areas, or when the existing liner or coating has simply reached the end of its service life and patching individual spots would just mean repeating the process again soon. Relining involves removing the failing surface, addressing any structural issues in the substrate underneath, and applying a new liner system across the entire interior.
The temptation to default to the cheaper spot repair is understandable, but a tank with widespread underlying deterioration that gets patched instead of relined often needs the same work done again within a short window, at which point the original repair cost was essentially wasted.
What the Relining Process Actually Involves
A proper reline follows a sequence, and skipping steps in that sequence is where a lot of premature failures trace back to.
- Draining and inspection. The tank is emptied and inspected thoroughly, often including a closer look at areas that couldn’t be assessed with water still in the tank.
- Surface preparation. The existing surface is cleaned, and any failing coating, loose material, or contamination is removed down to a sound substrate. This step gets rushed more often than any other, and rushing it is one of the most common reasons a new liner fails early.
- Structural repair. Cracks, spalling, or corrosion damage found during inspection get addressed before any new liner goes on. Coating over an unrepaired structural issue doesn’t fix the underlying problem, it just hides it temporarily.
- Liner application. The new liner system is applied across the full interior surface, following the manufacturer’s specified process for that particular product.
- Cure and testing. The liner is given the required cure time, and the tank is typically tested before being returned to service, whether that’s a simple visual inspection or a more formal water-tightness test depending on the project.
A Note on Potable Water Use
If a cistern stores water intended for drinking, this is the point where corners genuinely cannot be cut. Any liner or coating being considered for potable water contact needs a verified NSF/ANSI 61 certification listed under that exact product name, confirmed directly with the manufacturer rather than assumed from general marketing language. This applies to every liner product under consideration, not just the one that ends up being chosen, and it’s worth confirming in writing before work begins rather than after the tank is already back in service.
Repair vs. Reline Comparison
| Factor | Spot Repair | Full Reline |
|---|---|---|
| Best for | Isolated, minor damage in an otherwise sound tank | Widespread deterioration or an aging liner nearing end of service life |
| Scope | Targeted fix to the specific problem area | Full interior removal and re-application |
| Downtime | Shorter | Longer |
| Cost | Lower upfront | Higher upfront |
| Long-term risk | Higher if underlying deterioration is more widespread than it appears | Lower, since the full interior is inspected and addressed |
Things to Consider Before Repairing or Relining
- Does the inspection findings suggest isolated damage, or signs of a more widespread problem?
- If the cistern stores potable water, has a certification been verified in writing for the specific liner product being considered?
- What’s the tank’s age and history, has it already had earlier repairs that might indicate a pattern rather than a one-off issue?
- How much downtime can the water system realistically absorb for this work?
- Is the contractor doing the work experienced with underground cistern relining specifically, since access and surface prep differ meaningfully from above-ground tank work?
For a broader look at how cistern liner coatings work and what makes one system different from another, our earlier piece on cistern liner coatings covers the fundamentals in more depth.
Maintenance After Relining
A freshly relined cistern isn’t a “set it and forget it” situation. Periodic visual inspection, checking water quality at reasonable intervals, and keeping an eye on water level trends all help catch a developing problem while it’s still small. Cistern failures tend to draw attention only once they’ve become serious enough to notice on their own, and staying ahead of that curve with routine checks is a lot less disruptive than dealing with a failure after the fact, as we’ve covered in our piece on why cistern failures are drawing national attention.
Frequently Asked Questions
How do I know if my cistern needs relining instead of just a patch repair?
A thorough inspection is the only reliable way to tell. Isolated cracking in an otherwise sound tank often points to spot repair, while widespread deterioration, an aging original liner, or evidence of ongoing water loss across multiple areas usually points toward a full reline.
Can a cistern be relined without draining it completely?
No. A proper inspection and relining process requires the tank to be drained and dry, both to assess the true condition of the surface and to allow the new liner to cure correctly.
How long does a cistern relining project typically take?
Timelines vary based on tank size, the extent of repair needed, and the specific liner system’s cure requirements, so getting a project-specific timeline from the contractor is more useful than assuming a fixed number.
Is a relined cistern automatically safe for drinking water?
Not automatically. Potable water use requires a verified NSF/ANSI 61 certification for the exact liner product used, confirmed in writing rather than assumed. This should be checked before the product is chosen, not after installation.
What’s the most common reason a cistern liner fails early?
Inadequate surface preparation before the new liner is applied is one of the most frequent causes, since a liner applied over an improperly cleaned or unrepaired substrate doesn’t get a proper bond regardless of how good the liner material itself is.
Conclusion
Underground cisterns fail quietly, which is exactly why catching problems early through regular inspection matters so much. Whether the right fix is a targeted repair or a full reline comes down to what that inspection actually finds, not which option happens to be cheaper on the surface. And if the water involved is meant for drinking, verifying certification in writing before committing to any product isn’t optional paperwork, it’s the one step that protects everyone relying on that water once the tank goes back into service.
Comments