Water Tank Rehabilitation: Assessment, Prep, and Return to Service
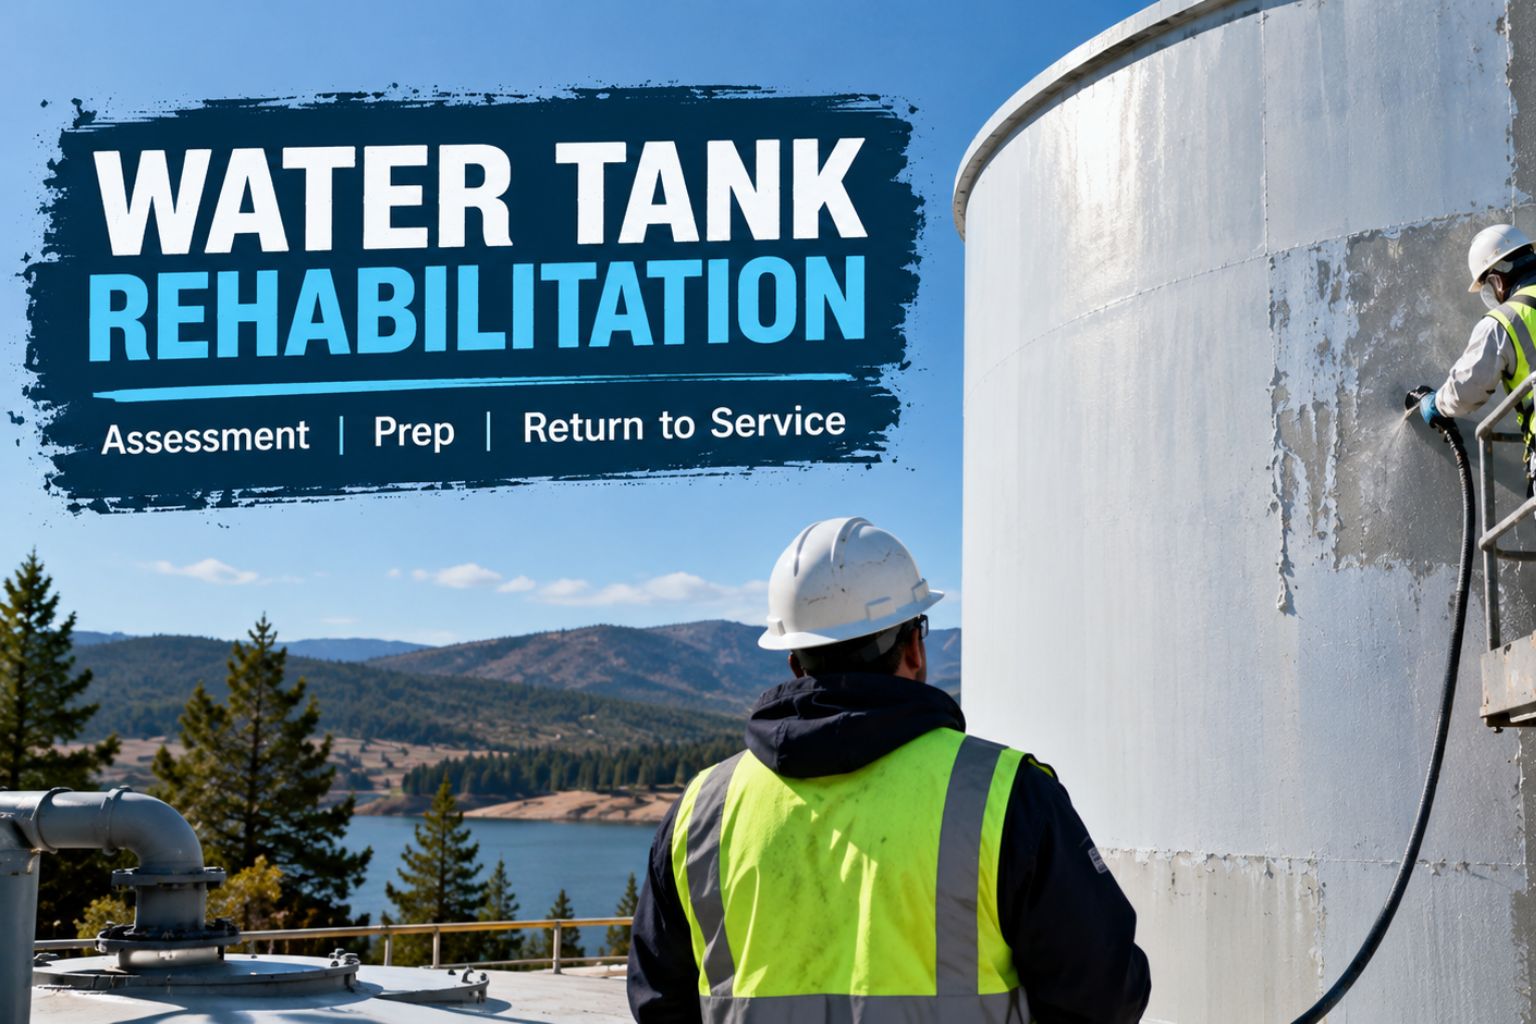
Every water storage tank eventually reaches a point where its owner has to decide what to do about it. Maybe it’s a concrete cistern with cracks that have gone from cosmetic to concerning. Maybe it’s a steel tank where corrosion has finally worked through the original coating. Either way, water tank rehabilitation isn’t a single action, it’s a process with distinct phases, and skipping or rushing any one of them tends to show up as a repeat problem within a few years rather than the long-term fix the owner was actually paying for.
This guide walks through that process the way it actually unfolds in practice: how a proper assessment gets done, what surface preparation demands depending on the tank’s material, and what has to happen before a rehabilitated tank can safely go back into service.
Why Tanks Need Rehabilitation in the First Place
Water storage tanks don’t fail all at once, they degrade gradually through mechanisms tied to their construction material. Concrete tanks develop cracks from thermal expansion, soil movement, and age, and those cracks widen over time as water intrusion and freeze-thaw cycling work on them further. Steel tanks corrode once their original protective coating wears through or was never adequate for the specific water chemistry and exposure conditions in the first place.
Beyond physical deterioration, water quality standards and regulatory expectations also shift over time, and a tank built or last rehabilitated decades ago may need updated protection to meet current requirements, particularly for potable water applications where certification standards matter and get revisited periodically.
The Assessment Phase: Getting an Honest Picture First
Rehabilitation starts with drainage and a genuinely thorough assessment, not a quick visual glance that assumes the problem is exactly what it looked like from the outside. For concrete tanks, this typically means mapping every crack, noting width, depth where measurable, and location, since cracks near the waterline or at structural joints often carry different implications than isolated hairline cracking on a flat wall section. For steel tanks, assessment focuses on identifying corrosion extent and depth, often through ultrasonic thickness testing at multiple points rather than relying on visual inspection alone, since surface corrosion can look worse or better than the actual remaining wall thickness suggests.
Water quality history is worth reviewing too, since taste, odor, or clarity complaints over the tank’s operating life can point toward specific problem areas or material compatibility issues that a purely structural inspection might miss.
This assessment phase is exactly where a lot of rehabilitation projects go wrong, not because the work that follows is done poorly, but because the assessment itself was too quick, missing a structural issue that then gets coated over rather than actually repaired. Our piece on repairing cracked concrete water tanks before lining goes deep into exactly this problem, since a new liner applied over unrepaired structural cracking tends to fail in the same locations the original cracks were, sometimes faster than the original coating did.
Substrate-Specific Preparation: Concrete and Steel Aren’t the Same Job
Concrete and steel tanks demand genuinely different preparation approaches, and treating them the same is one of the more common mistakes in rehabilitation work.
Concrete preparation generally starts with structural crack repair, addressing the actual cause of water intrusion or leakage rather than just the symptom, before any surface profiling or cleaning happens. Once structural issues are resolved, the surface needs profiling to create adequate mechanical bond for whatever lining system follows, along with removal of any laitance, efflorescence, or prior coating residue that could interfere with adhesion.
For the terminology behind that work, Coatingpedia’s guide to concrete surface preparation and CSP explains profile selection, mechanical preparation and acceptance checks. The lining manufacturer’s requirements and project specification still govern.
Steel preparation centers on corrosion removal, typically through abrasive blasting to bare, sound metal, since coating over active corrosion doesn’t stop the underlying process, it just delays visible symptoms while the corrosion continues underneath. Surface profile requirements for steel differ from concrete, and the specific blast profile needed depends on the lining system being applied, information that should come from that product’s technical documentation rather than a generic assumption.
In both cases, moisture matters enormously. A concrete surface that’s still damp from the draining process, or a steel surface with condensation forming as ambient conditions change, can compromise adhesion for whatever coating goes on next, regardless of how well everything else was done.
The Rehabilitation Sequence
Once assessment and preparation are complete, the actual rehabilitation generally follows a consistent order. Structural repairs get addressed first and are allowed to cure or set before further work proceeds. Surface preparation, profiling, cleaning, contaminant removal, comes next, tailored to the specific substrate. The lining or coating system is then applied at the manufacturer’s specified thickness, sometimes in multiple passes for full coverage and proper build. Detail work at penetrations, seams, and any fittings gets particular attention, since these transition points are where failures disproportionately start rather than on the flat, easy-to-coat wall sections.
Return to Service: What Has to Happen Before Refilling
This is a step that gets rushed more often than it should, usually under pressure to get a tank back online as quickly as possible. The applied lining needs to reach full cure according to the manufacturer’s specified timeline before the tank is refilled, and cure time varies significantly by product and by ambient conditions during the cure period, not just a fixed number of days regardless of circumstances.
For tanks intended for potable water use, a certification check applies here specifically. Any lining product used for drinking water contact needs a verified NSF/ANSI 61 certification under its exact product name, confirmed in writing rather than assumed from general marketing language, and this verification should happen before the product is selected, not as an afterthought once the tank is already lined. Our explainer on what NSF/ANSI 61 certification actually covers walks through exactly how to verify this properly rather than taking a certification claim at face value.
A water quality check after refilling, before the tank returns to full operational use, catches any residual issues from the rehabilitation process itself, whether that’s taste or odor from an incompletely cured coating or sediment that needs to be flushed out before the system is considered fully back in service.
Rehabilitation Process at a Glance
| Phase | Concrete Tanks | Steel Tanks |
|---|---|---|
| Assessment | Crack mapping, width and location documentation | Ultrasonic thickness testing, corrosion mapping |
| Structural repair | Crack injection or structural patching before lining | Corrosion removal, structural section replacement if needed |
| Surface prep | Profiling, laitance and contaminant removal | Abrasive blasting to bare metal, profile per lining spec |
| Cure before refill | Per manufacturer’s specified timeline | Per manufacturer’s specified timeline |
| Certification check (potable use) | Verify NSF/ANSI 61 for exact product | Verify NSF/ANSI 61 for exact product |
Things to Consider Before Starting a Rehabilitation Project
- Has the assessment actually identified root causes, cracks, corrosion source, rather than just documenting visible symptoms?
- Does the preparation plan account for the tank’s specific substrate material, rather than applying a generic approach to both concrete and steel?
- If the tank serves potable water, has certification been verified in writing for the exact lining product under consideration, before it’s selected?
- Is the cure timeline being respected fully, or is there pressure to return the tank to service before the manufacturer’s specified cure period has elapsed?
- Is there a post-rehabilitation water quality check planned before the tank returns to full operational use?
For rainwater catchment systems specifically, where the end use might range from potable household water to irrigation, our guide on lining materials and certification for rainwater catchment tanks covers how the certification question applies differently depending on the water’s intended use.
Maintenance After Rehabilitation
A properly rehabilitated tank still benefits from periodic inspection, particularly in the first year or two when any prep or application shortcomings tend to reveal themselves if they exist. Checking water quality at reasonable intervals, watching for any unexpected level changes that might indicate a new leak, and doing a visual check where access allows all help catch a developing problem while it’s still minor. Our broader piece on cistern liner repair and relining covers ongoing maintenance considerations that apply well beyond just the immediate post-rehabilitation period.
Frequently Asked Questions
How long does a water tank rehabilitation project typically take?
It varies significantly based on tank size, extent of structural repair needed, and the specific lining system’s cure requirements, so getting a project-specific timeline rather than assuming a generic duration is the more reliable approach.
Can a tank be rehabilitated without draining it completely?
No. Proper assessment and surface preparation require the tank to be drained and, for most lining systems, fully dry before work can proceed correctly.
Is rehabilitation always cheaper than tank replacement?
Generally yes for tanks with sound underlying structure, since rehabilitation avoids the cost of full demolition and reconstruction, but a tank with extensive structural damage may reach a point where replacement becomes the more sensible option.
Does a rehabilitated tank need different maintenance than a new one?
Not fundamentally, though closer inspection in the first year or two after rehabilitation is a reasonable precaution to catch any prep or application issues early, before they develop into larger problems.
What’s the biggest risk in a rehabilitation project?
Rushing the assessment or prep phase to save time, which tends to result in a new lining failing at the same locations the original problems occurred, since the underlying cause wasn’t actually addressed before the new coating went on.
Conclusion
Water tank rehabilitation done right is a sequence, honest assessment, substrate-appropriate preparation, proper application, and a genuine return-to-service process, not a single coating decision made in isolation. Skipping or rushing any one of these phases tends to surface as a repeat problem within a few years, turning what should have been a long-term fix into an expensive redo. Respecting each phase, especially the assessment and cure steps that are easiest to shortcut under time pressure, is what actually determines whether a rehabilitated tank delivers the decades of service its owner is paying for.
Do this work for a living
Want to spray cistern liners?
ArmorThane equips and trains contractors to line cisterns, tanks and pipe with polyurea. Get the startup details in two minutes.